But after adding columns in Word, it might still seem like something’s missing, particularly if you find the document difficult to read. Our tutorial below will show you how to add column dividers in Word so that you can include a visual element that improves readability. Our article on how to turn off Airpod notifications can show you how to improve your experience with your Airpods and your iPhone.
How to Put Divider Lines Between Columns in Word 365
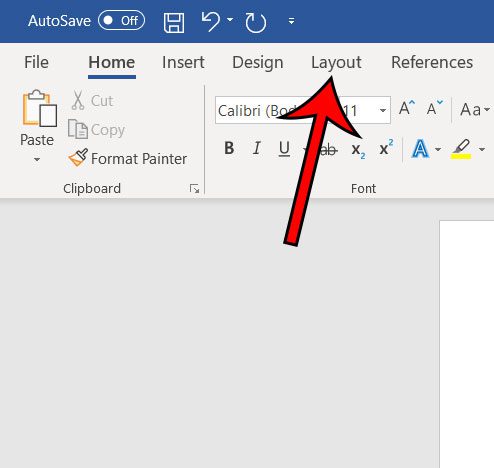
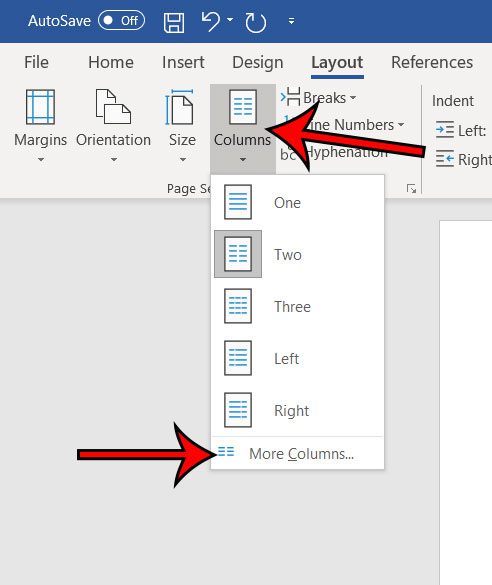
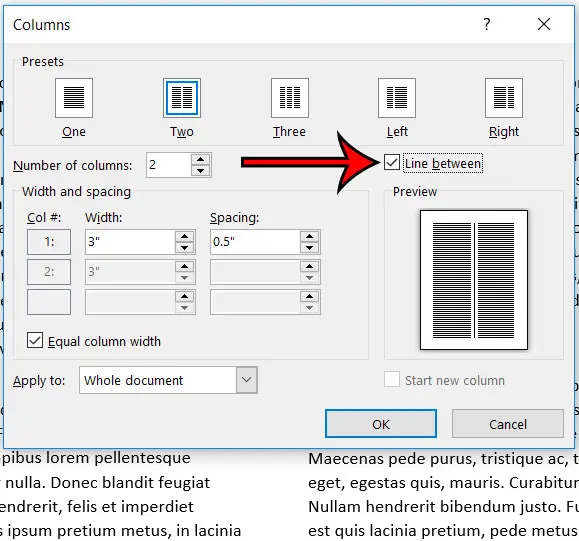
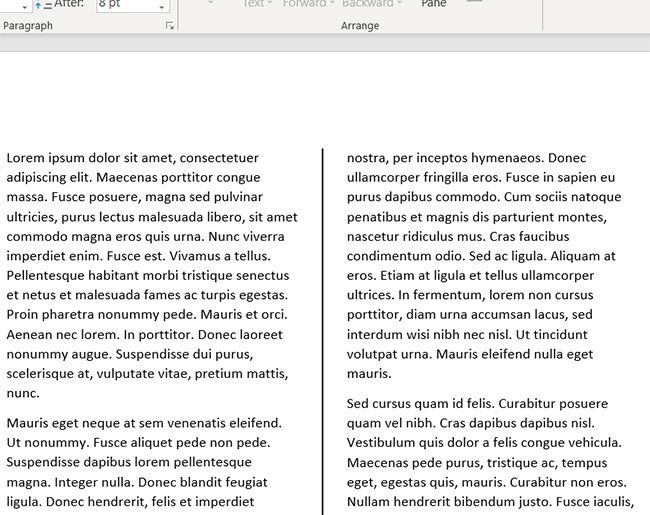
The steps in this article were performed in the Word for Office 365 application, but the steps are very similar in most other versions of Word as well. This guide assumes that you already have columns. If not, you can add them by going to the Layout tab, then clicking Columns. Step 1: Open your document in Word. Step 2: Select the Layout tab. Step 3: Click the Columns buttons, then select the More Columns option. Step 4: Check the box to the left of the Line between option, then click OK to apply the setting. An example of a two-column document with a column divider is shown below. Does your document require a check mark, but you are having trouble figuring out how to include one? Find out how to add a check mark in Word so that you can complete the document you need to create. After receiving his Bachelor’s and Master’s degrees in Computer Science he spent several years working in IT management for small businesses. However, he now works full time writing content online and creating websites. His main writing topics include iPhones, Microsoft Office, Google Apps, Android, and Photoshop, but he has also written about many other tech topics as well. Read his full bio here.
You may opt out at any time. Read our Privacy Policy