Our tutorial below will show you how to switch to landscape orientation in Microsoft Word for your current document. This will rotate all of your document pages so that they print on paper in the landscape orientation instead.
How to Put a Microsoft Word Document in the Landscape Orientation
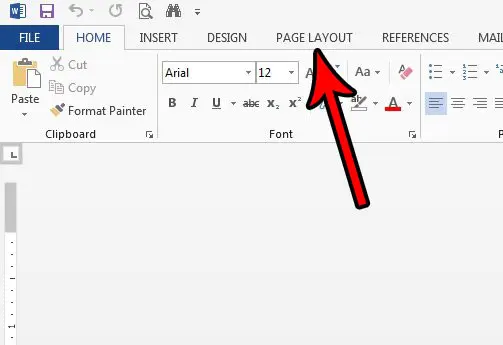
The steps in this article were performed in Microsoft Word 2013. These steps are similar in most other versions of Microsoft Word. Once you complete the steps in this guide you will change the orientation of your document to the landscape orientation. Note that if there are already objects and text in your document that this may change the layout of some of those objects. Therefore it’s a good practice to proofread the document after switching to landscape orientation to make sure that everything still looks OK. You can also set landscape as the default if you make more documents in that orientation than in portrait. If you use Google Docs, then this article will show you how to change this setting as well. Step 1: Open your document in Microsoft Word. Step 2: Click the Page Layout tab at the top of the window.
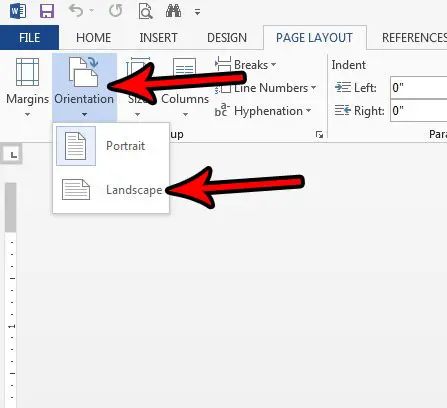
Step 3: Click the Orientation button in the Page Setup section of the ribbon, then choose the Landscape option.
Do you need to know how may characters are in your document? Find out how to get a character count in Word if your document needs to be over or under a certain number of letters and numbers. After receiving his Bachelor’s and Master’s degrees in Computer Science he spent several years working in IT management for small businesses. However, he now works full time writing content online and creating websites. His main writing topics include iPhones, Microsoft Office, Google Apps, Android, and Photoshop, but he has also written about many other tech topics as well. Read his full bio here.
You may opt out at any time. Read our Privacy Policy