Whether you are entering months, days of the week, or simply numbering your rows, it’s a common type of information to put into a cell. But manually typing all of that data can be tedious, and it’s pretty easy to make a mistake when you start doing repetitive typing tasks like that. Luckily Google Sheets has a feature called Autofill that can make it a little easier.
How to Autofill Cells in Google Sheets
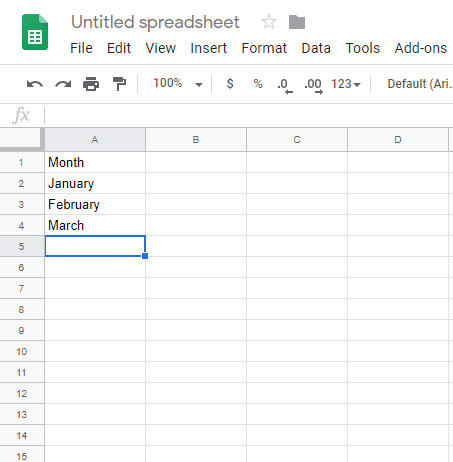
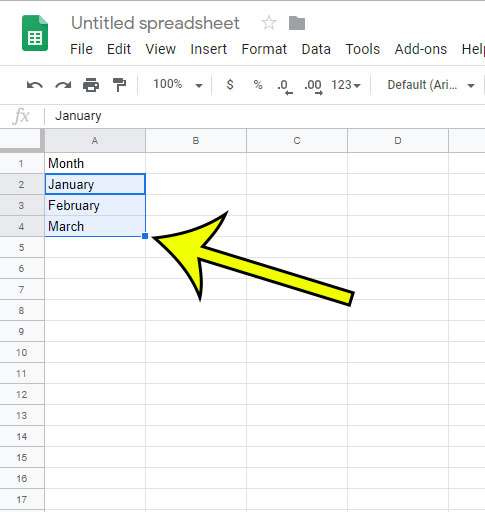
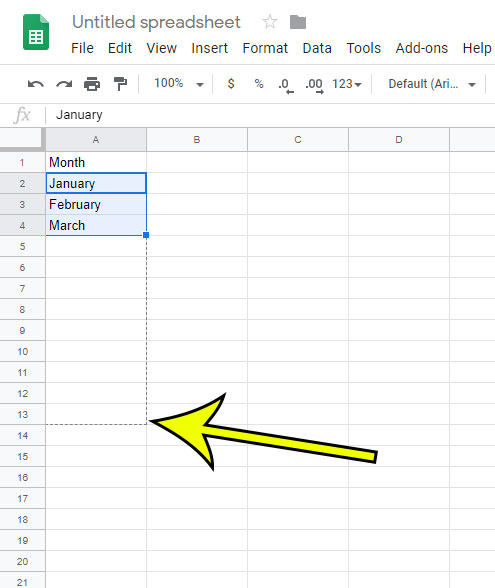
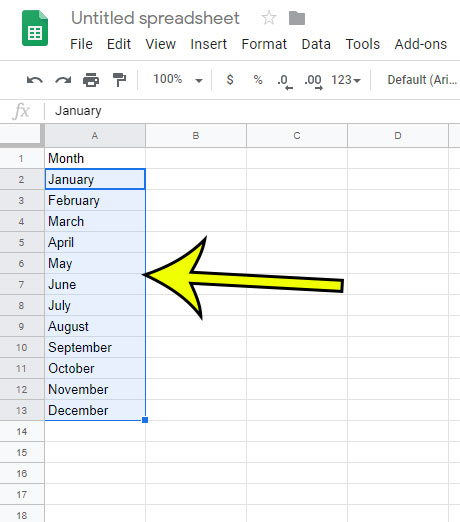
The steps in this article were performed in the desktop version of the Google Chrome Web browser, but will also work in other desktop browsers like Firefox or Edge. Step 1: Sign into your Google Drive at https://drive.google.com and open the Sheets file in which you wish to use autofill. Step 2: Type the first few items in the series that you wish to autofill. Step 3: Select the cells containing the information that you entered. Step 4: Click and hold down the mouse button on the blue handle at the bottom-right corner of the bottom cell in the series. Step 5: Drag the handle down to select the cells that you wish to autofill. Step 6: Release the mouse button to fill the cells. Find out how to create a dropdown menu in Google Sheets for another way to expedite the process of creating your spreadsheets or eliminating typing errors. He specializes in writing content about iPhones, Android devices, Microsoft Office, and many other popular applications and devices. Read his full bio here.