While Microsoft Powerpoint is easier to manage when you are presenting on a screen, it can typically look fine when you need to print out a slide show. But you may be wondering how to change your paper size if you are designing a printed presentation and using a non-default paper size. Printing on legal paper can be a little more difficult than it should be in some situations, and you may have found that one of those situations can come up with Microsoft Powerpoint. The legal paper size is often ideal for certain types of presentations, particularly if you need the extra page space when you print the presentation. But you might be having trouble getting your presentation sized properly and, ultimately, printing it out. Our guide below will show you a few different settings to adjust so that the printed legal-sized Powerpoint presentation looks as good on paper as it does on your screen.
How to Change Paper Size in Powerpoint
Our article continues below with additional information on changing the paper or slide size in Powerpoint, including pictures of these steps. If you use speaker notes in Powerpoint but are having trouble with Google Slides, then our how to see speaker notes on Google Slides app tutorial can help you to find them.
How to Set the Slide Size to Legal Dimensions in Powerpoint 2013 (Guide with Pictures)
The steps in this article are going to change the dimensions of your slides to be the same dimensions as legal paper. You will then be able to adjust the print size of the presentation to print those slides, if necessary, on legal paper without any weird formatting issues that might otherwise arise.
Step 1: Open your presentation in Powerpoint 2013.
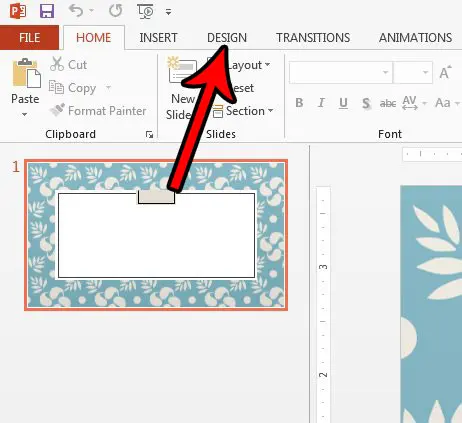
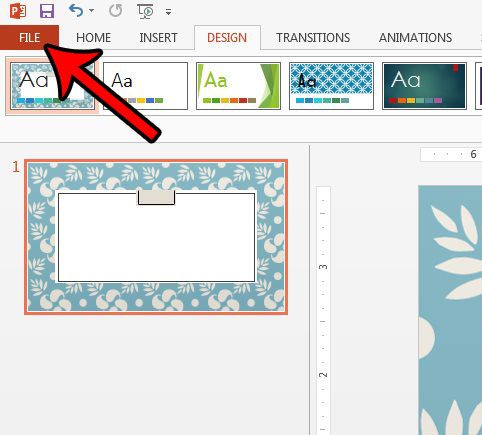
Step 2: Click the Design tab at the top of the window.
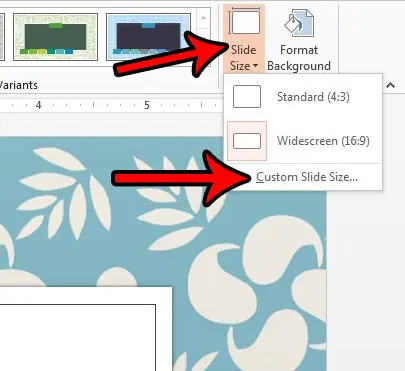
Step 3: Click the Slide Size button in the Customize section at the far right end of the ribbon, then click the Custom Slide Size option.
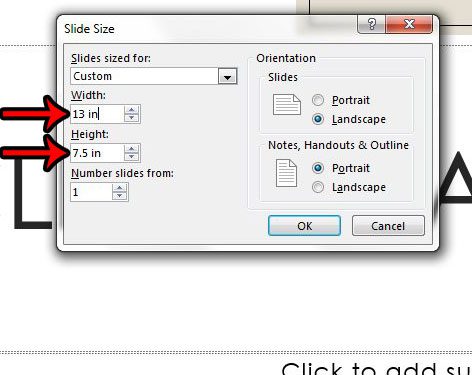
Step 4: Set the Width to 13 in and the Height to 7.5 in, then click the OK button.
The actual dimensions of legal paper are 14 inches by 8.5 inches, but you need to give a little leeway for margins.
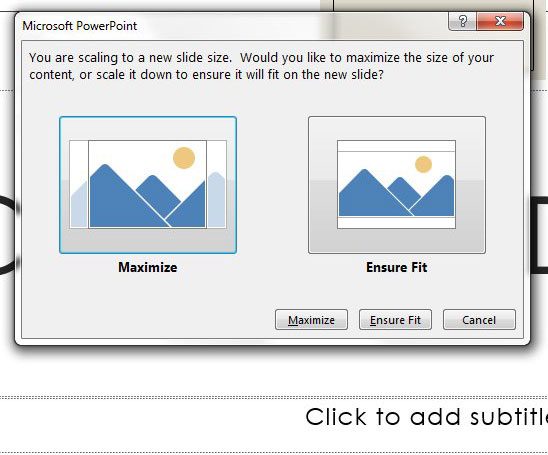
Step 5: Select the resizing option that you prefer.
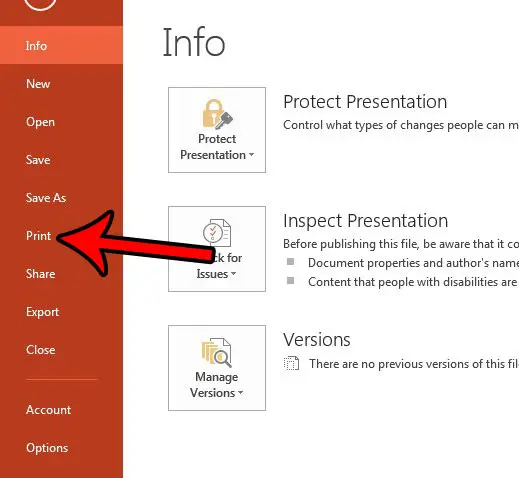
Step 6: Click the File tab at the top-left corner of the window.
Step 7: Select the Print option.
Step 8: Click the Printer Properties button and choose to print on legal paper.
This is a little different on each printer, so your options here can vary. Then click the Full Page Slides button and ensure that the Scale to Fit Paper option is selected. You can then print the presentation. Would you also like to print the notes for your presentation so that you can use them when you are speaking? Learn how to print speaker’s notes in Powerpoint 2013.
Additional Sources
After receiving his Bachelor’s and Master’s degrees in Computer Science he spent several years working in IT management for small businesses. However, he now works full time writing content online and creating websites. His main writing topics include iPhones, Microsoft Office, Google Apps, Android, and Photoshop, but he has also written about many other tech topics as well. Read his full bio here.
You may opt out at any time. Read our Privacy Policy