Fortunately you can add a border to a text selection with just a few short clicks, so check out our guide below to learn how.
Add a Border to a Selection in Word 2013
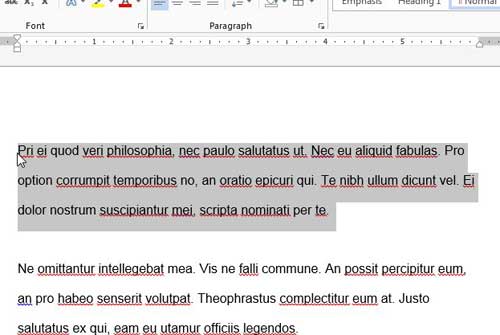
The tutorial below will assume that you already have a document with text, and that you simply want to add the border to existing text. Additionally, we will be putting a border around a paragraph, but you can select any amount of text to which you want to add a border. Step 1: Open your document containing the text to which you want to add a border. Step 2: Use your mouse to highlight and select the text around which you want your border.
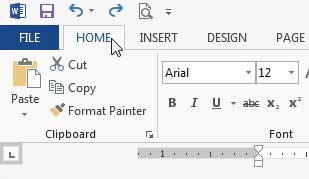
Step 3: Click the Home tab at the top of the window.
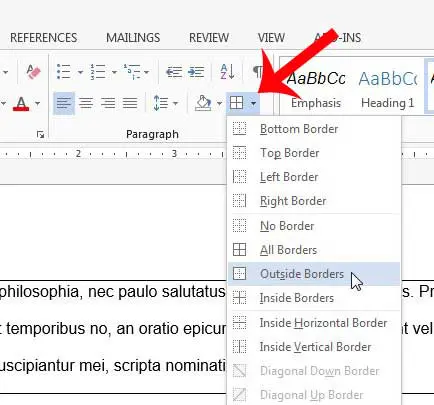
Step 4: Click the drop-down menu to the right of the Borders button in the Paragraph section of the ribbon, then click the type of border that you want to use. I am going to be using the Outside Borders option in the example below.
Are you sending your document to someone that doesn’t have Microsoft Word, or to someone that specifically requested a PDF? Learn how to save as a PDF in Word 2013 and make an easy copy of your file in that document format. After receiving his Bachelor’s and Master’s degrees in Computer Science he spent several years working in IT management for small businesses. However, he now works full time writing content online and creating websites. His main writing topics include iPhones, Microsoft Office, Google Apps, Android, and Photoshop, but he has also written about many other tech topics as well. Read his full bio here.
You may opt out at any time. Read our Privacy Policy