Google Slides allows you to edit your pictures in a few ways, like if you want to know how to circle in Google Docs, or if you need a cropping utility. Our tutorial below will show you how to crop a picture in Google Slides so that you can remove the parts of an image that you don’t want in your presentation.
Picture Cropping in Google Slides
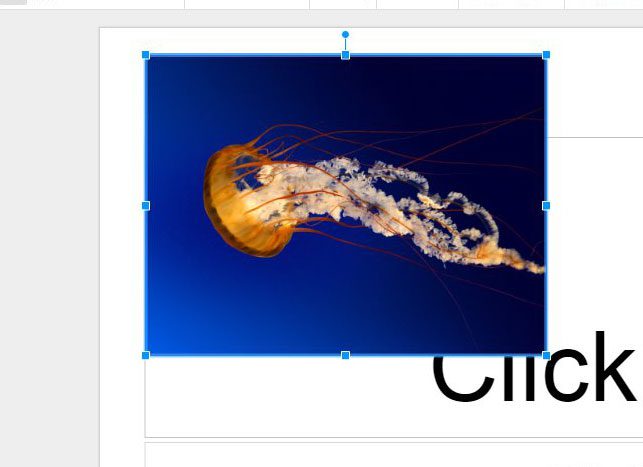
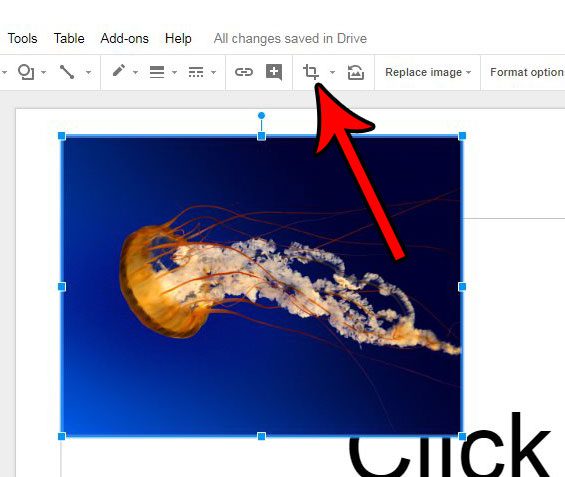
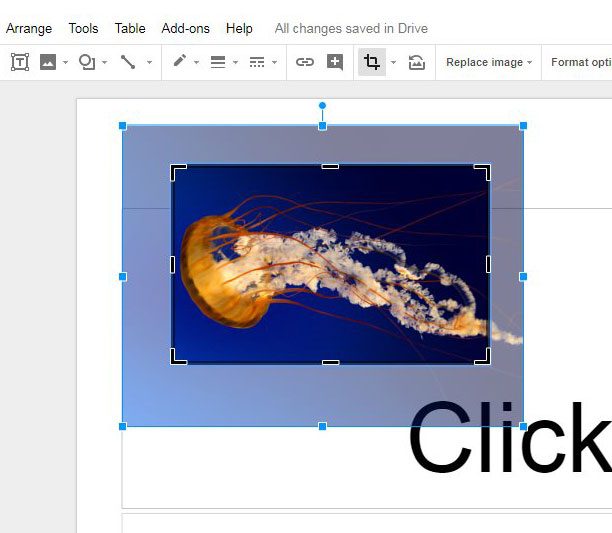
The steps in this article were performed in Google Chrome, but will work in other desktop and laptop Web browsers, such as Internet Explorer and Firefox. This guide assumes that you already have a picture in one of your slides that you would like to crop. Step 1: Go to your Google Drive at https://drive.google.com/drive/my-drive and open the Slides file containing the picture that you would like to crop. Step 2: Click on the picture to crop. Step 3: Click on the Crop button in the gray toolbar above the slide. Step 4: Drag the black handles on the outside of the picture until the desired part of the image is surrounded. You can then click on another spot in the slide to deselect the picture and view the cropped version of it. You can apply some effects to the pictures in your slideshow as well. For example, find out how to add a drop shadow to a picture in Google Slides so that you can achieve that look without using a third party image-editing program like Photoshop. After receiving his Bachelor’s and Master’s degrees in Computer Science he spent several years working in IT management for small businesses. However, he now works full time writing content online and creating websites. His main writing topics include iPhones, Microsoft Office, Google Apps, Android, and Photoshop, but he has also written about many other tech topics as well. Read his full bio here.